A little while back I took part in the Cornwall Crafts summer show at Trelowarren. I wanted to create a much bigger textile relief than any I had previously designed, and the result was Dragon. A bigger piece meant a lot of different challenges; there were difficulties that were never an issue for smaller pieces, particularly how to keep such a large surface interesting whilst maintaining a sense of unity of form.
 Designing the Template
I began by cutting smaller scale paper templates in order to explore different shapes. The relief was cut from one piece, then shaped and stitched into a three-dimensional form. I cut out a template from fabric of roughly the same stiffness and flexibility to my own fabric to confirm that the design would work.
Making the Fabric
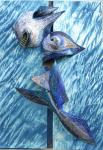
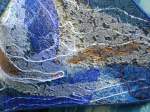
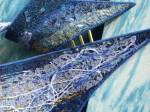
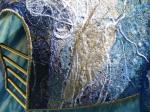
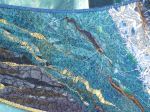
I used the same techniques as on the smaller pieces, but much more attention was needed to make sure that the entire surface flowed together. Different parts of the dragon were shaded in bronzes and golds, and white was used as a highlight. Alex cut brass tubing into lengths, which were added to provide contrast and structure.
Framing the Dragon
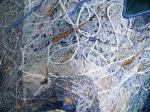
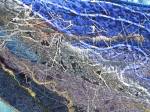
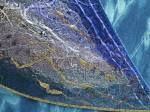
I wanted the background to be an integrated part of the design, and so rather than use a plain colour fabric, I used Japanese shibori techniques with indigo dye on silk. The silk panels were mounted over canvas onto wooden frames, and then finally the dragon was hand-stitched onto the silk.